17 December 2011
Pumpkin Marble Bread
Like a steam engine that has built up enough energy to charge, I was so excited with my new found interest that I looked up books that were reccomended for bread-making beginners like me. I almost bought a book but decided against it because while spending about 1 hour browsing through 3 or 4 Japanese bread books at Kinokuniya, I realised the techniques and recipes were quite similar from what I could find on the web.
Well, instead of adding yet again to my ever expanding library of magazines and recipe books, I decided to save the money and spend it on ingredients for more experimentation! But of course the long browsing time wasn't in vain either. I finally realised what it meant to "throw the dough against the table". Incidentally, this video (via comme un lait fraises) that I chanced upon also helped in my understanding of the "kneading" technique.I also saw a marble bread recipe that made me want to immediately go home and try it out. The recipe in the book was for a loaf bread, but I knew it was the same as the wassant that Provence is very popular for.
Because the book was published by a baking supplies shop in Japan, Cuoca, the marble bread actually called for a house-brand product, a 折込みシート (orikomi-sheet), which is a chocolate sheet for making marble bread. Another quick search in Cookpad yielded many many recipes for making the sheet itself and making marble bread and it made me secretly happy (okay, maybe not secretly) that I didn't buy the book. I was especially attracted to a pumpkin sheet recipe and made it the very next day to freeze, in preparation for my very first marble bread.
I used the recipe for the yu-tane bread I made previously as the base recipe, omitting the cranberries and black sesame paste. I tried the new technique of "throwing the dough" instead of kneading, adding as little flour as possible when working dough, and just repeated the "throwing" till the dough was not sticky.
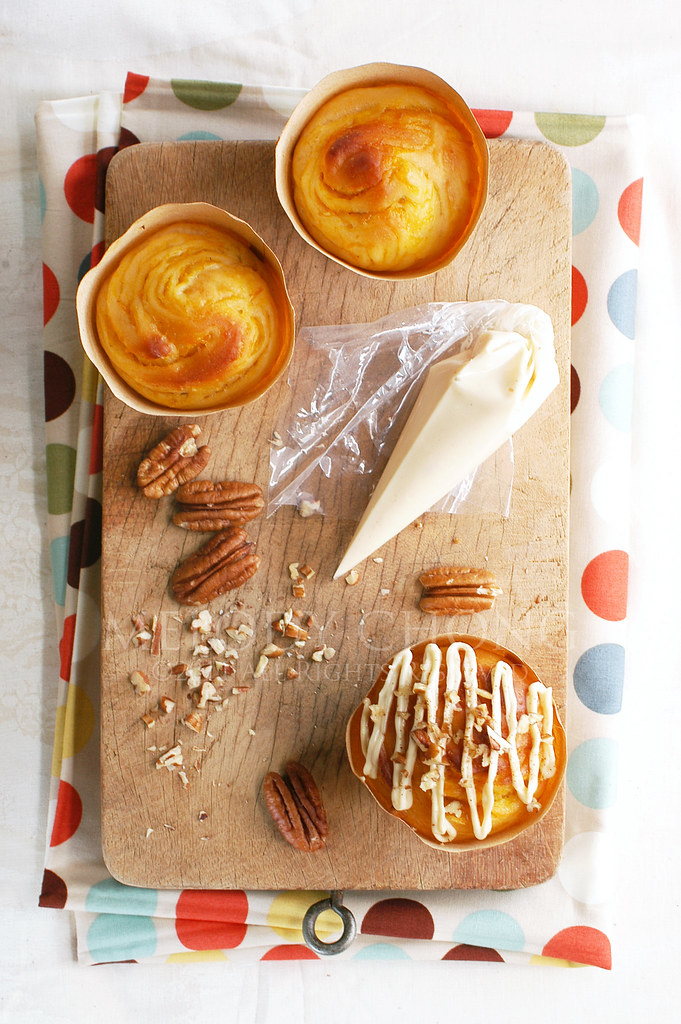
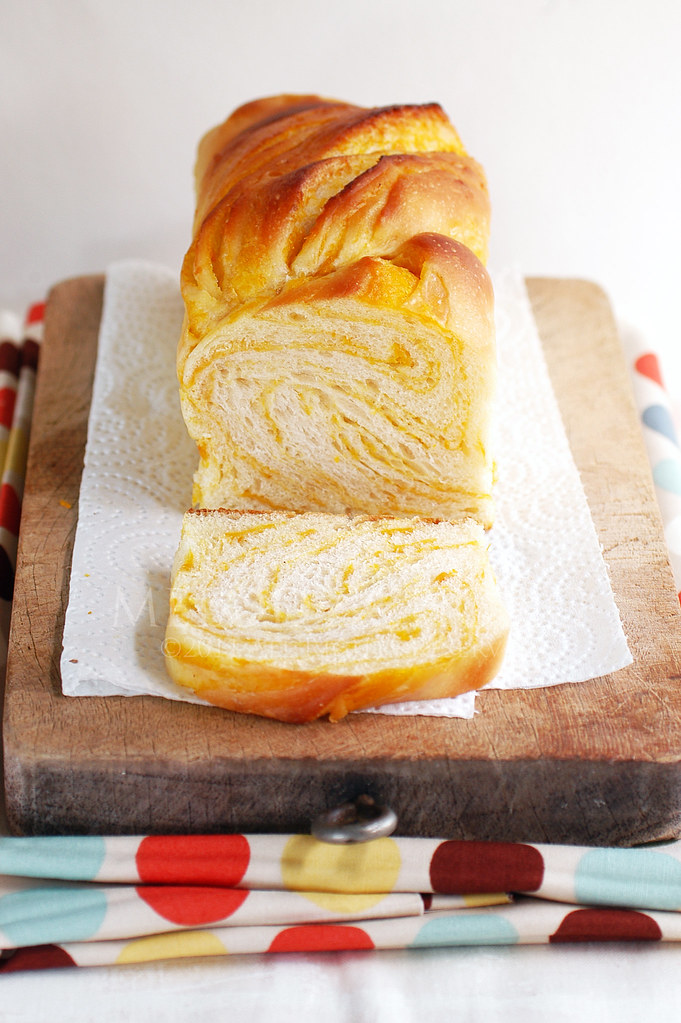
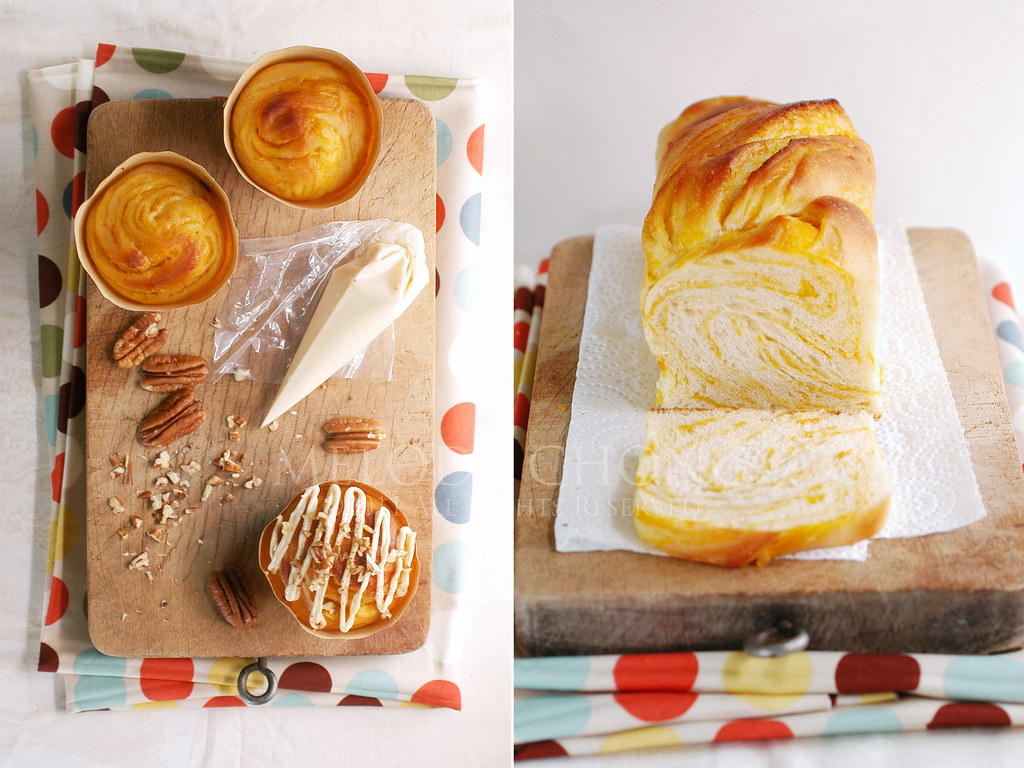
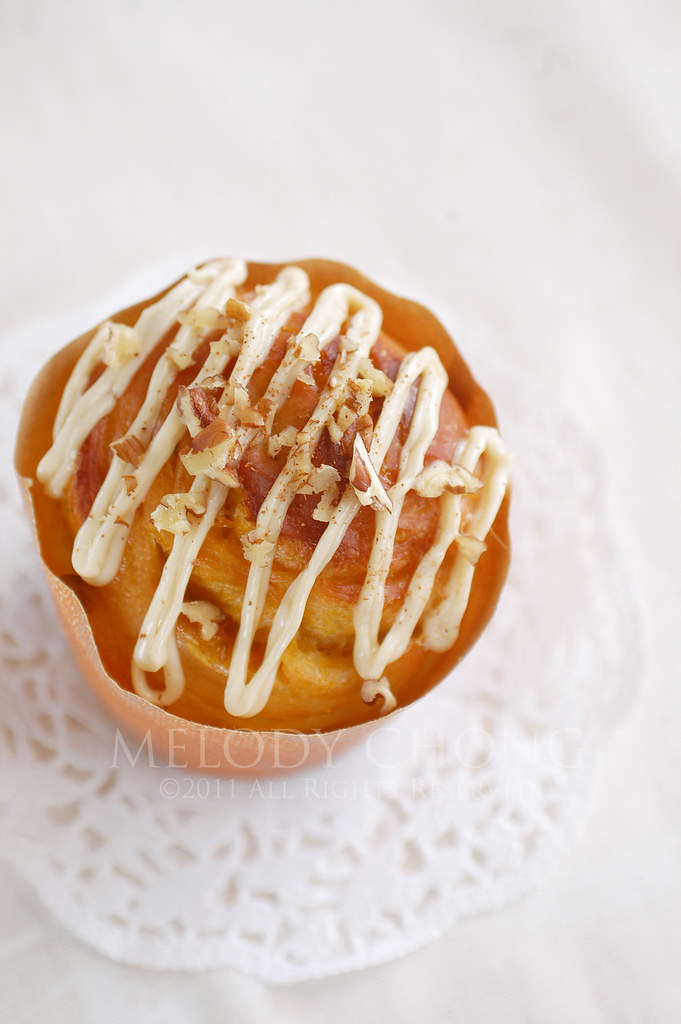
Achieving the marble effect was easier than I thought. It's the same way as you would incorporate butter into croissants, just that you work with a flavoured sheet instead of butter. The dough is then braided and left to rise for the second time before baking. Of course, wanting to recreate the Provence wassants at home, I tried shaping them into petite croissants with half of the dough. Unfortunately, the dough was a little too wet for me to handle, because of the pumpkin sheet and I ended up baking the wassants in cupcake cups. They were just too ugly to go bare. A little piped cream cheese frosting and sprinkling of chopped pecans and nutmeg made it look almost perfect.
Anyhow, it was time for the taste test! The individual buns were a little dry, probably because I over baked them a little, but I think hit jackpot with the loaf. Okay, maybe I missed a tiny little bit because the center was a little undercooked, but the rest of the loaf was so soft and fluffy! All the effort I put into making my own orikomi-sheet from scratch and throwing the dough about was all worth it! The taste of pumpkin wasn't very pronounced, but it was good nonetheless. I don't know if using canned pumpkin puree would up the pumpkin flavour, but I think a can would be too much puree for me to use up.
I won't be writing the recipe for the base dough in this post, but you can check it out here. Just leave out the sesame to get a plain dough. I used 3/4 of the bread recipe for 1 portion of the orikomi-sheet. Below is the recipe I translated (as closely as I can) for the orikomi-sheet but you can also check out the Japanese version here, complete with pictures. I've also included the method for incorporating the sheet into the base dough, which I mainly referenced from here (in Japanese with pictures).
Pumpkin Orikomi-Sheet
(Makes about 200g)
150g pumpkin, seeds removed and sliced
Some vegetable oil
30g sugar
1Tbsp milk
10g potato starch
10g butter or vegetable oil
- Preheat oven to 200degC.
- Lightly oil a baking sheet with vegetable oil and arrange pumpkin slices on top.
- Roast for 20-30mins or until fork tender. Let cool.
- Mash the pumpkin in a microwavable bowl, keeping only the flesh and discarding the skins for a nicer colour.
- Using the microwave, heat the mashed pumpkin flesh until steaming and relatively hot. I like to use short time settings of about 30-40secs each when heating up the pumpkin, checking in between to see if it's ready, adding 10-20secs each time after that. Eg. 40sec-30sec-10sec-10sec.
- When the pumpkin is hot, add the sugar, milk and potato starch and mix well.
- Heat the pumpkin mixture in the microwave for about 10-20secs each time, stirring and mixing well in between each round. The mixture is ready when it has become sticky and mochi-like.
- Stir in the butter or vegetable oil until well incorporated.
- Roll out the mixture between cling wrap or a ziplock bag until it is about a 15x15cm square. Let cool or freeze until ready to use. If freezing, thaw at room temperature for about 30mins before using.
To make a marble bread loaf
- Prepare the bread dough as per recipe instructions up until after the first rising and punching down of the dough. Let the dough rest for 15-20mins before proceeding to incorporate the orikomi-sheet.
- Roll out the bread dough, to about the size of a 20x20cm square.
- Wrap the orikomi-sheet with the bread dough, making sure it is not exposed.
- Roll the dough out again and do a letter fold, or the Japanese calls it mitsu-ori.
- Repeat the rolling and letter fold 3 to 4 times, letting the dough rest in the fridge for about 20 minutes between each repeat. For each rolling out and folding, turn the dough 90deg clockwise so that you roll and fold it in a different direction each time. Let the dough rest in the fridge for 30mins after the last letter fold.
- Lastly, cut the dough in 2, leaving it attached 1cm at the top. Twist the 2 parts of dough to create a braid and let rise for the second time in a lightly buttered loaf pan.
- Bake as per instructions for your bread recipe.
Subscribe to:
Post Comments (Atom)


2 comments:
Hello There,
this is really very nice blog and looking very nice. this blog is very helpfull for shopping .. we want come back on this blog...
Post a Comment